ARMATURE LIFT
Armature lift measurement affects the overall behavior of the injector. It's the basic measure for the injector calibration.
..................................................................................................................................................................................
PROCEDURE:
STEP1
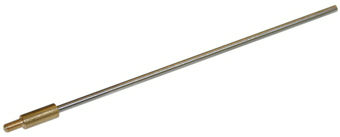
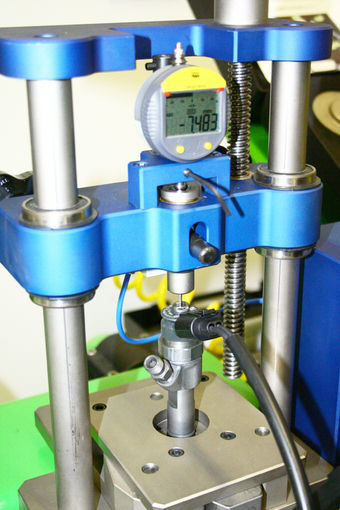
Assemble the gauge head n°13 (DX75632, head 2x94) with the dial gauge and fit it in the dedicated front slot. Set the instrument in microns.
STEP2
Close completely the injector tightening the solenoid with the correct torque.
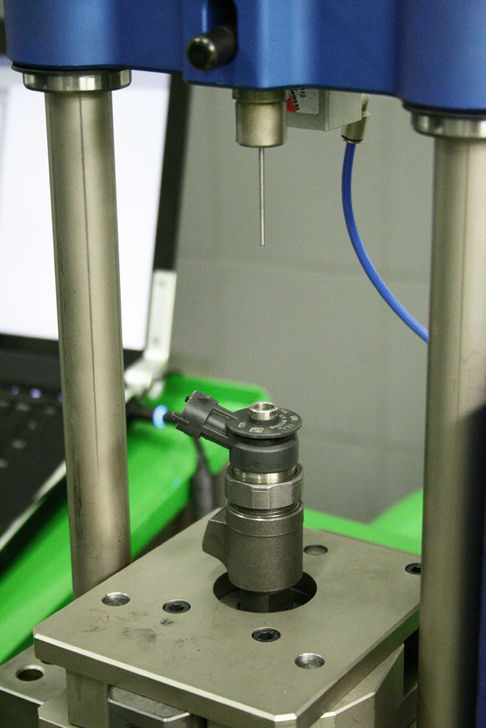
Fix the body injector in the dedicated centering plate as shown in the picture. Choose a part of the body to avoid the uncorrect centering (avoid bavels).
STEP3
Be sure that the electrical connection of the Turan are well connected (Control unit, EPS, laptop).
STEP4
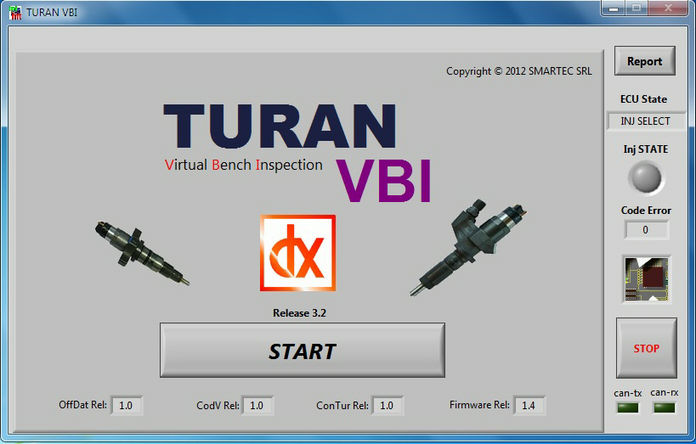
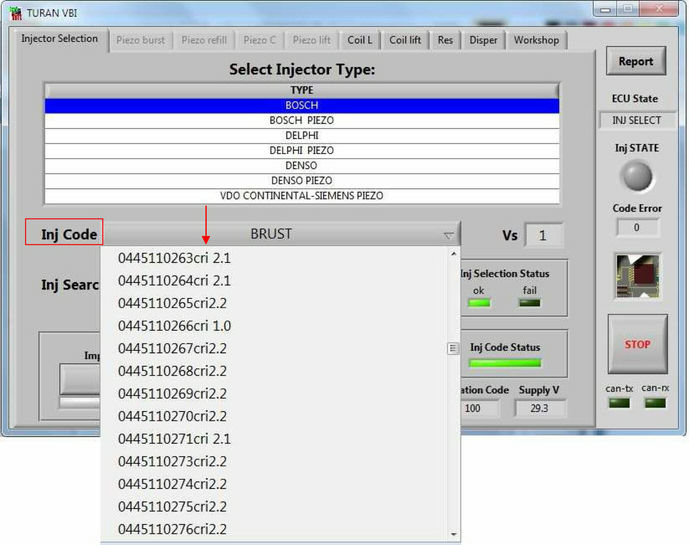
Open the Turan software and click on the "Start" button.
Select "Bosh" on the "Type" menu and the code of the injector to test on the "Inj code" menu.

STEP5
Click on "Coil lift" on the test menu selection and, using the dedicated terminal cable, connect the "coil" cable to the injector.
Move down the movable crossbeam so that the gauge head can pass into the solenoid hole. Stop when the gauge head touches the armature inside the solenoid. Be sure that the head does not get stuck on the solenoid spring.
STEP6
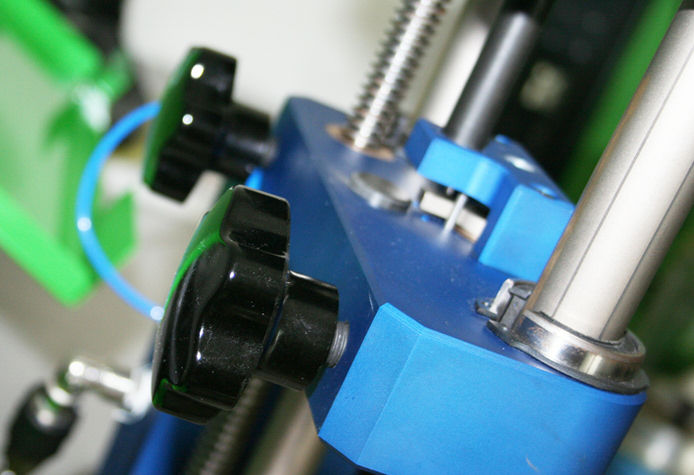
Lock the vertical and longitudinal motion.
STEP7
On the Turan software select “Auto” on the “Coil lift reading” menu and wait until the gauge start to communicate with the software.

Activate the reading by clicking on the “Activate Inj Ind” button and wait until the software ends the test.
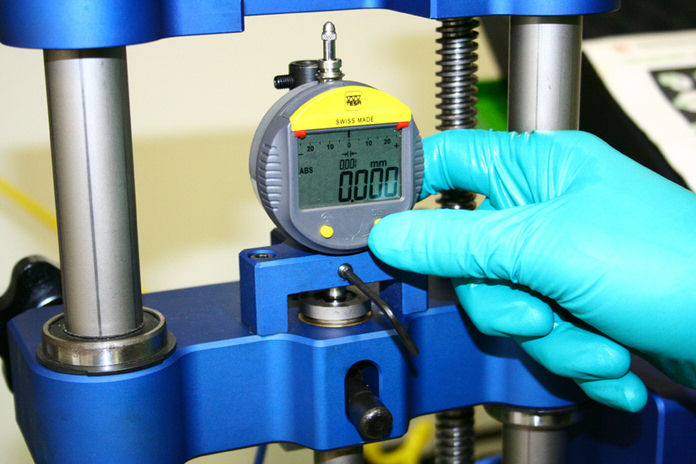
On the “Lift measured μm” window will appear the value of the coil lift electrically measured.
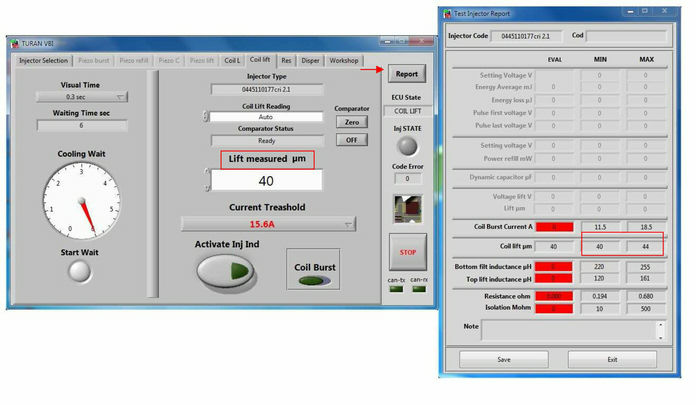
By clicking the “Report” button placed in the top right side of the Turan window, is possible to know the limit values of the examined injector.
FINE