AIRGAP
Airgap is the minimum distance between armature and solenoid. It has affect on pre injection and low delivery.
..................................................................................................................................................................................
PROCEDURE:
STEP1
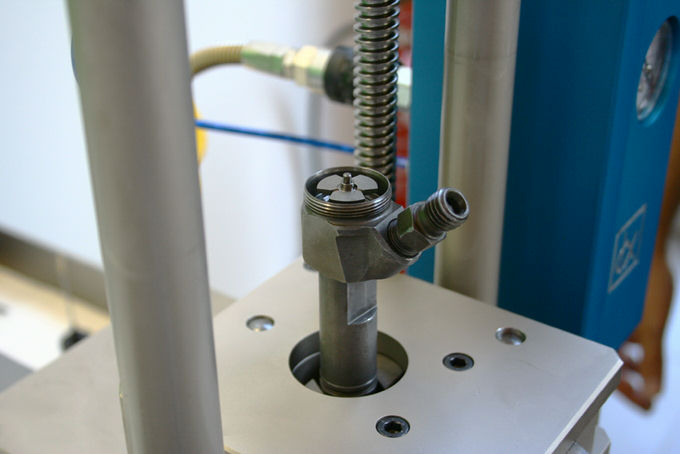
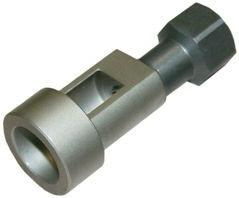
Insert into the body injector the ball, the ball bearing, the valve shim, the armature and the internal screw, closing it with the correct torque.
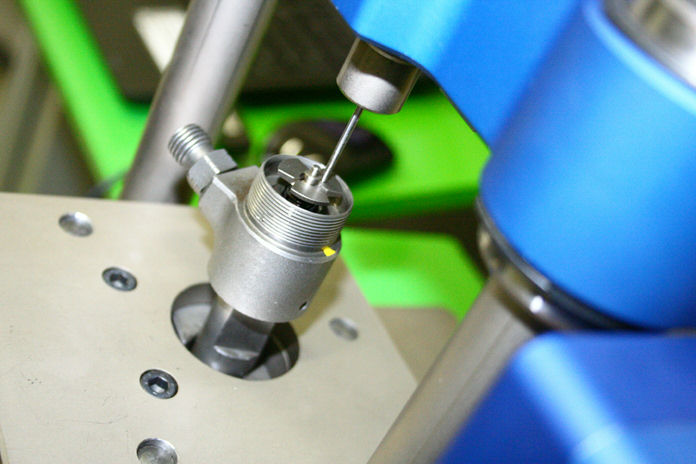
Fix the body injector in the dedicated centering plate as shown in the picture.
Choose a part of the body to avoid the uncorrected centering (avoid bevels).
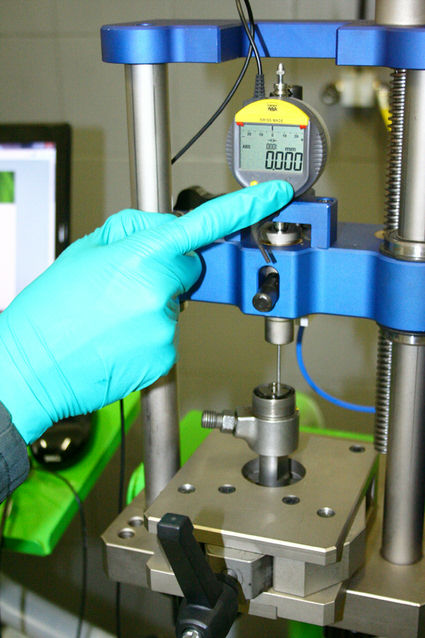
STEP2
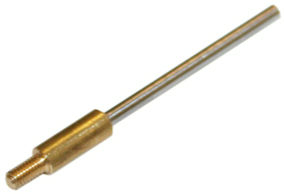
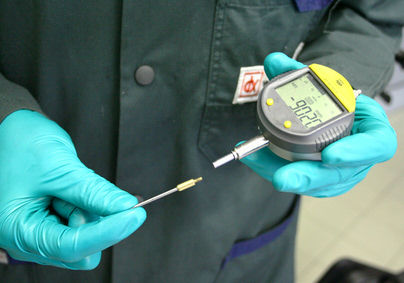
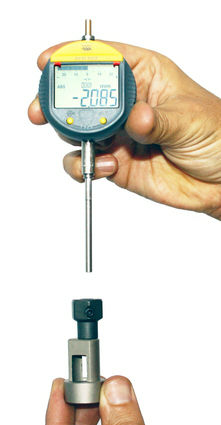
Assemble the gauge head DX75632 (probing pin 2x94, n°13 basic case) whit the dial gauge.
Fit the dial gauge in the dedicated front slot and set the instrument in microns.

STEP3
Place the injector so that the probing pin of the dial gauge passes between the anchor and the body injector.
Move down the movable crossbeam until the probing pin will touch the surface where the airgap shim has to fit.
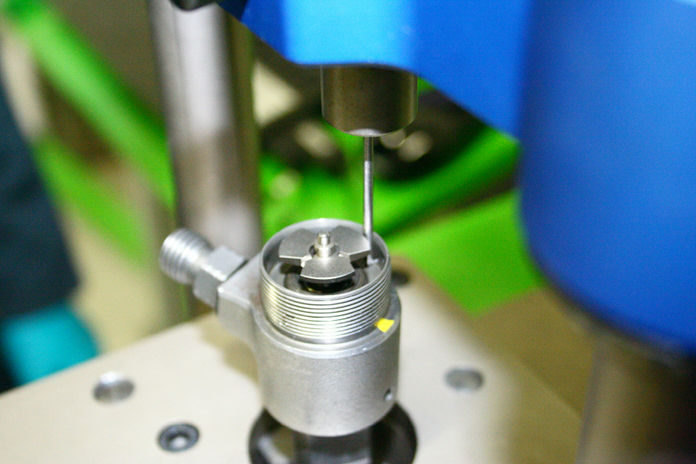
Move the crossbeam down few millimetres more. Block the vertical and longitudinal motion.
Reset the dial gauge.
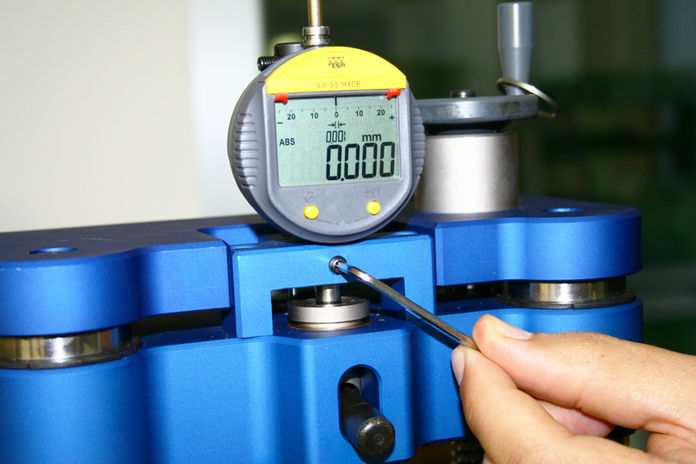
STEP4
Unlock the longitudinal motion and, lifting up the dial gauge probing pin, move the injector centering plate so that the probing pin will lay down on the anchor.
Release the probing pin.
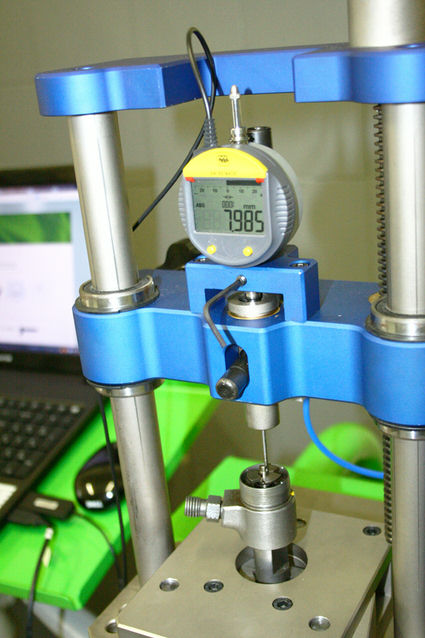
Note the measure (Measure A) (es. 7.985).
STEP5
Assembled the head n°12 (DX75631, probing pin 38x2) with the dial gauge and fit the instrument in the dedicated dial gauge holder for coil measuring, tool n°14 (DX75277).
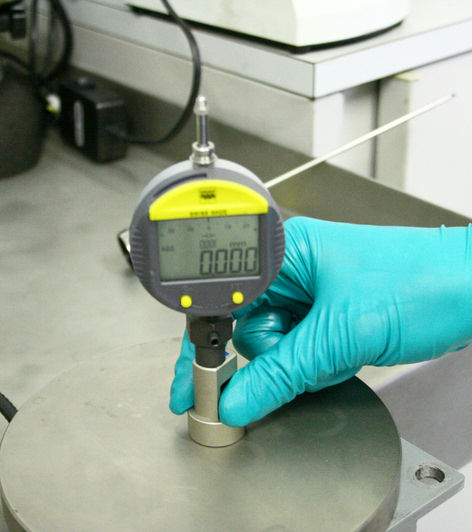
STEP6
Reset the dial gauge placing the dial gauge holder (DX75277) in contact with a grinded surface.
STEP7
Place the dial gauge holder in contact with the coil as shown in the picture.
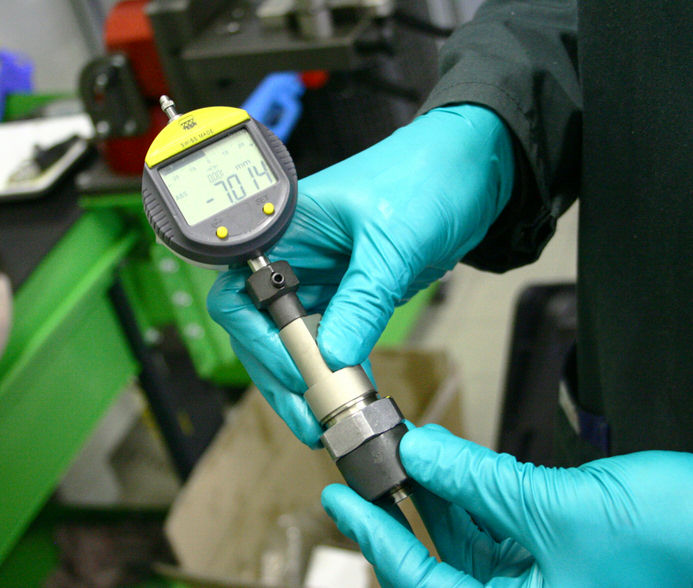
Note the measure (measure B) (es. 7.014).
STEP8
Calculate the dimension of the airgap shim to install as follow:
AIRGAP SHIM= (measure A) (ex. 7.985) + AIRGAP* - (measure B) (ex. 7.014)
*AIRGAP= Value on the datasheet
END