CONTROL VOLUME
PROCEDURE:
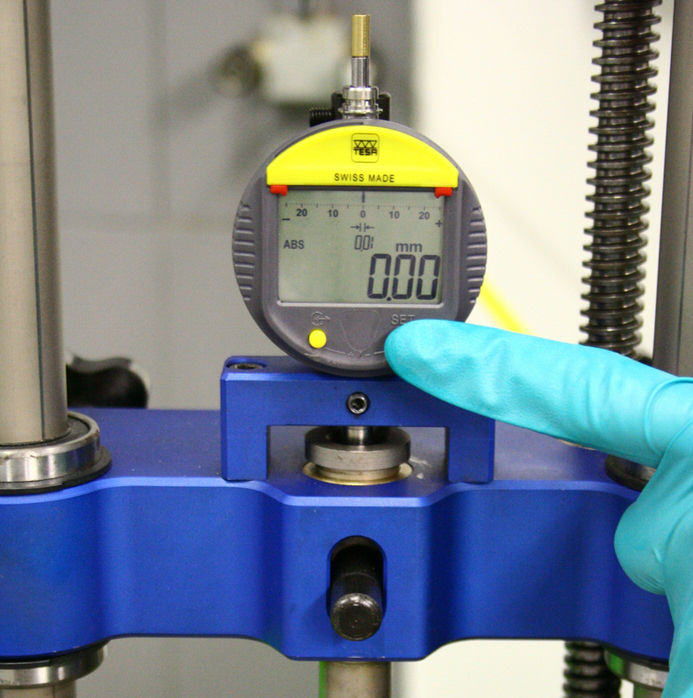
STEP 1
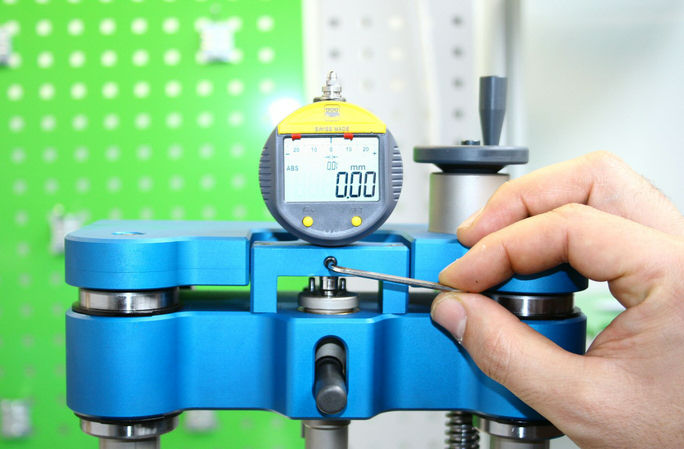
Assemble the head DX75632 (N°13 case 1) with the dial gauge and fit it in the dedicated front slot. Set The instrument in microns.
STEP 2
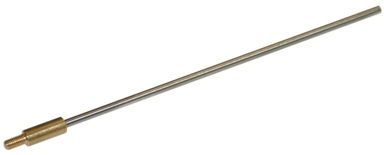
Using the dedicated tool DX75622 (n°1 case 1)
place the nozzle, within the needle, on the Tricky-Tech plate so that the nozzle it self results aligned with the dial gauge exit.
STEP 3
Move down the moveable crossbeam so that the gauge head lays down on the nozzle surface.
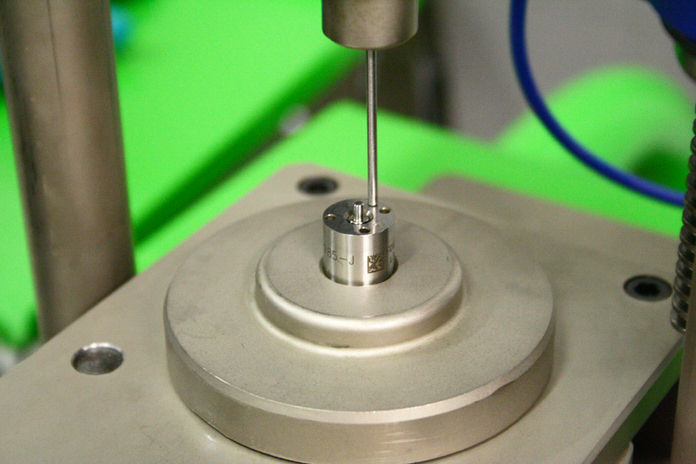
Lock the vertical motion and zero the gauge.
STEP 4
Lifting up the probing head, move gently the tool DX75626 so that the head, once released, lays down perfectly on the top of the needle pin.
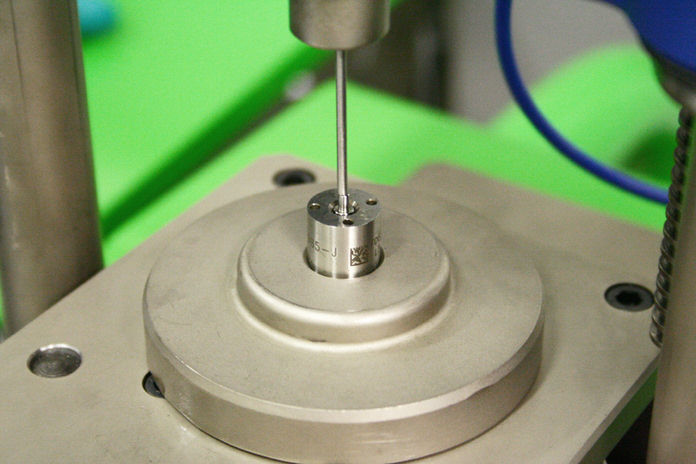
Note the measure. (MEASURE A)
STEP 5
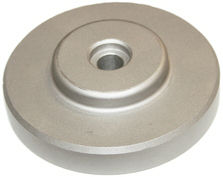
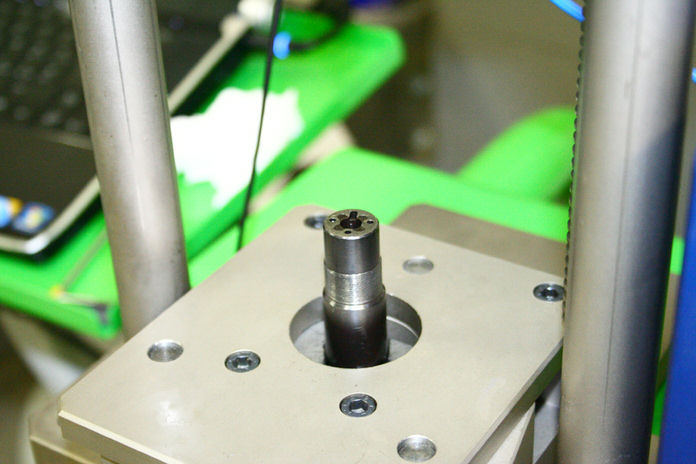
Fix the body injector in the dedicated centering plate as shown in the picture. Choose a part of the body to avoid the uncorrected centering (avoid bevels).
STEP 6
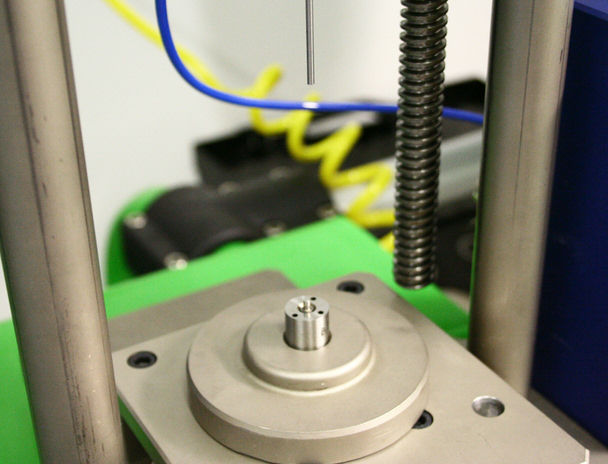
Controlling that the probing head inserts itself perfectly inside the body injector, move down the moveable crossbeam until the gauge head touches the driving spindle inside the injector.
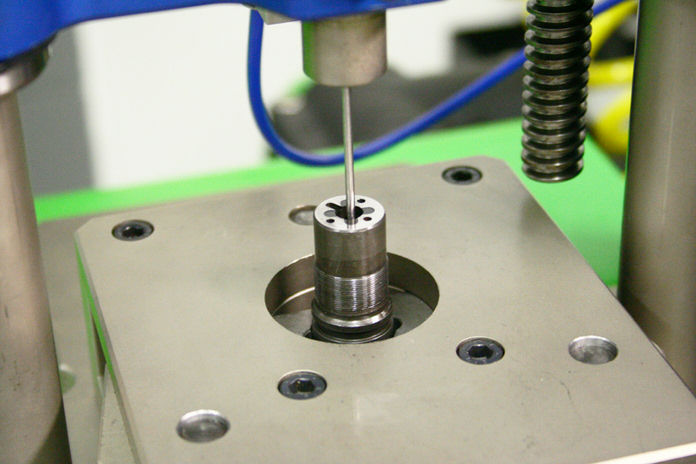
Lock the vertical motion and zero the gauge.
STEP 7
Lifting up the probing head, move the locking plate so that the head, once released, lays down on the injector surface where the nozzle fits.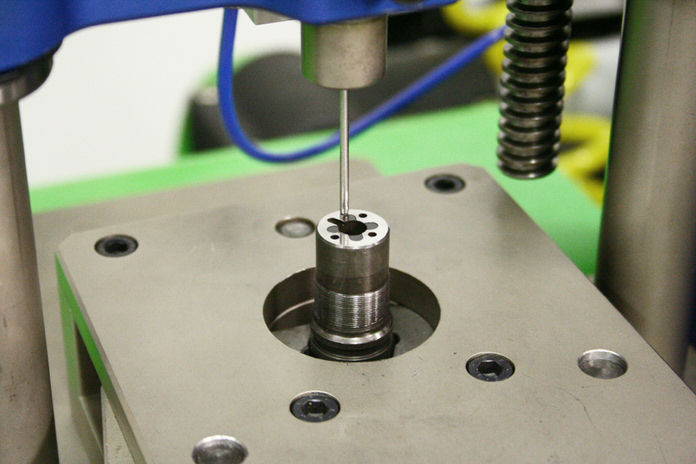
Note the measure. MEASURE B
STEP 8
The control volume is calculeted as follow:
CONTROL VOLUME = MEASURE B - MEASURE A
END